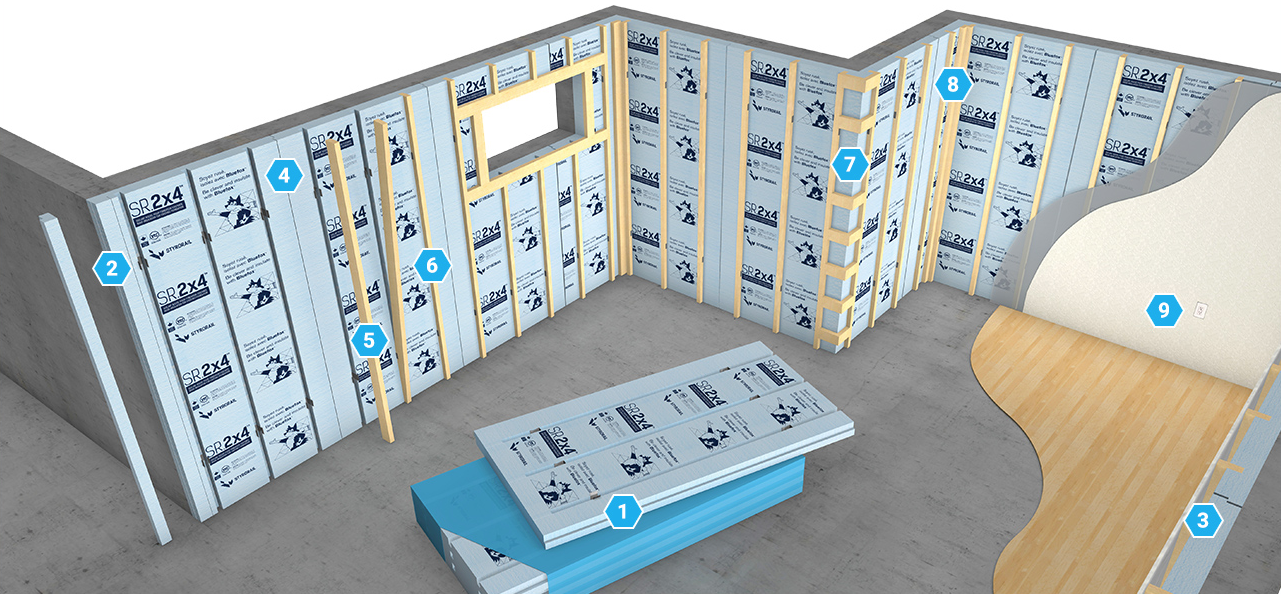
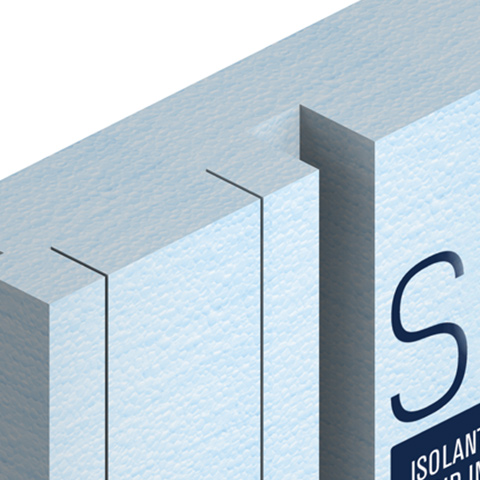
Foundation Insulating Panel
Expanded polystyrene grooved panel to insulate the inside of the foundation with a continuous thermal envelope. Grooves for the 2×4 wood studs at every 406 mm [16″] or 610 mm [24″] o.c. Solid fixation to concrete wall with metal brackets.

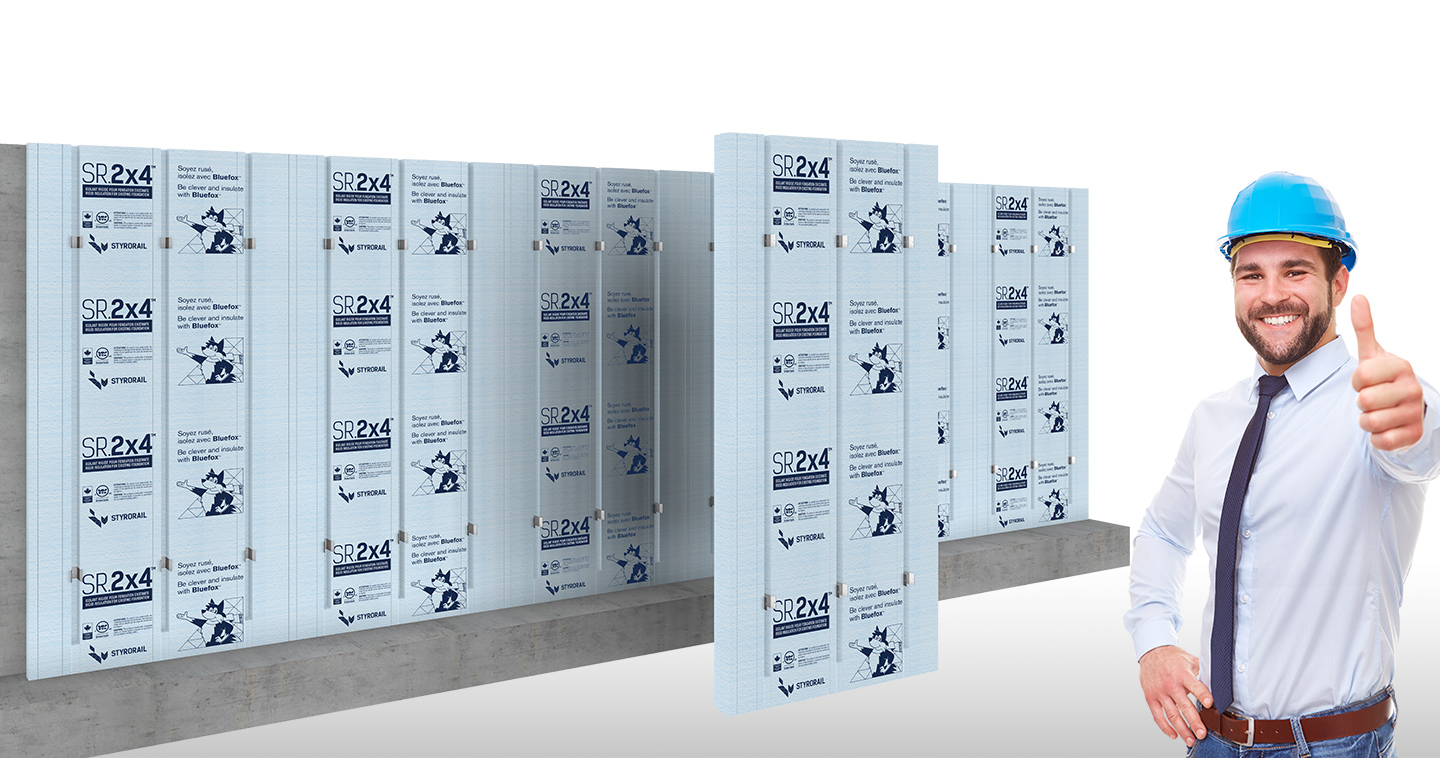
Metal Brackets
Included in each panel and used to fasten the panel to wall.
Pre-Cut Lines
Strategically places, facilitates cutting the panel on site.

Air Tight and Stable for Life
Perfect overlap between panels due to ship lapped joints.
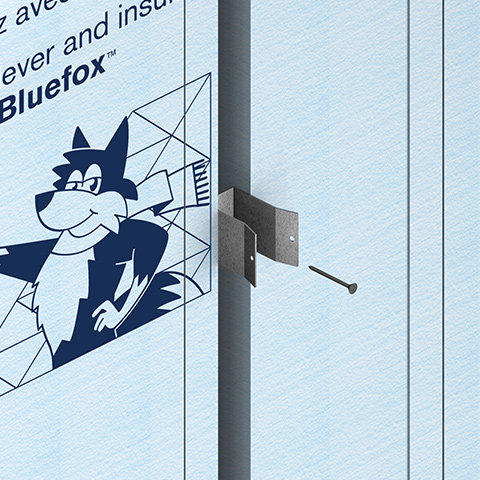
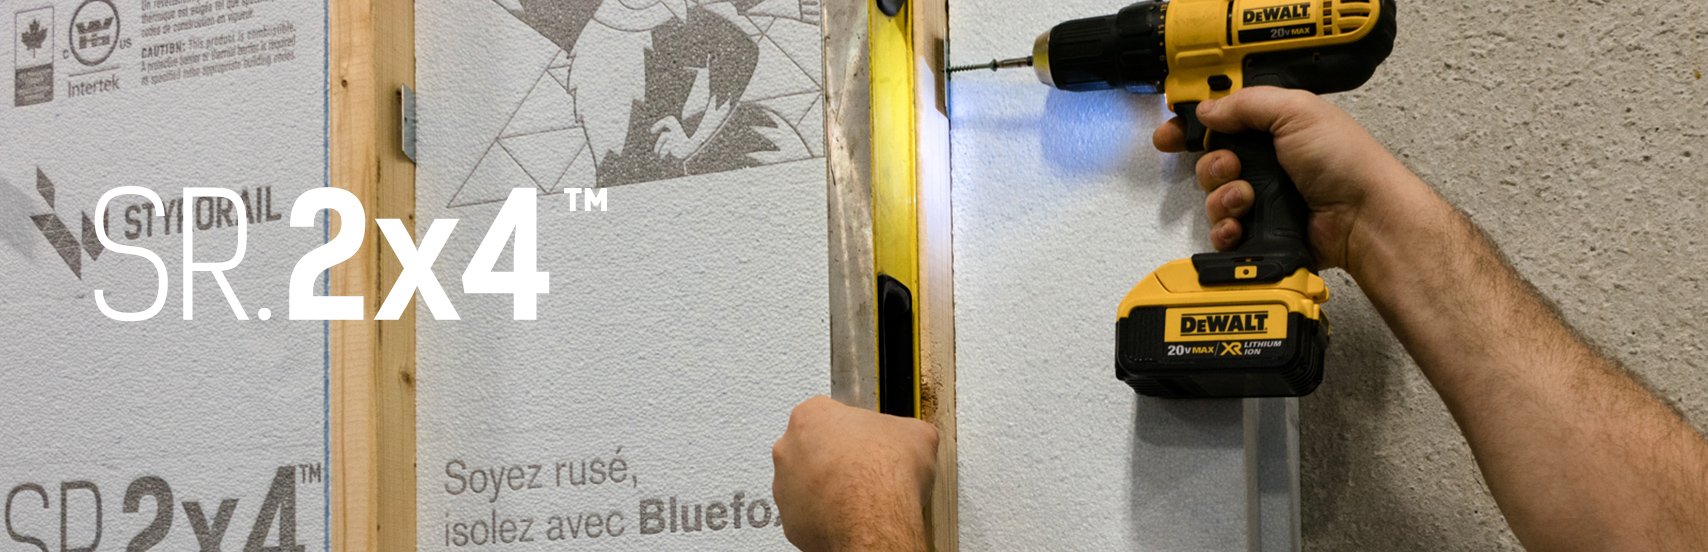
Fastening the Panels
Using a metal brackets and a power-actuated tool, the panel is fastened to the foundation wall.
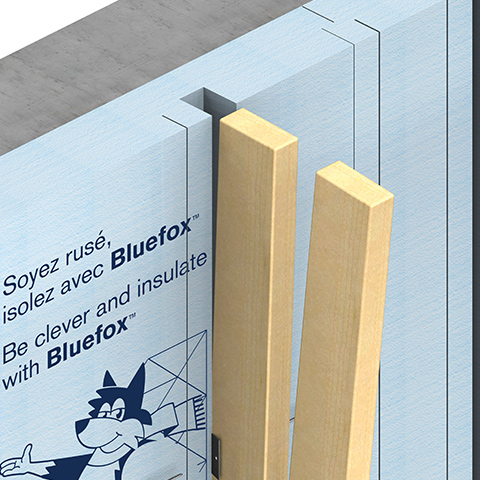
Inserting the Studs
The 2×4 studs are easy to insert into the existing channels.

Leveling the Studs
Once leveled, the studs are then attached with wood screws through the metal brackets.
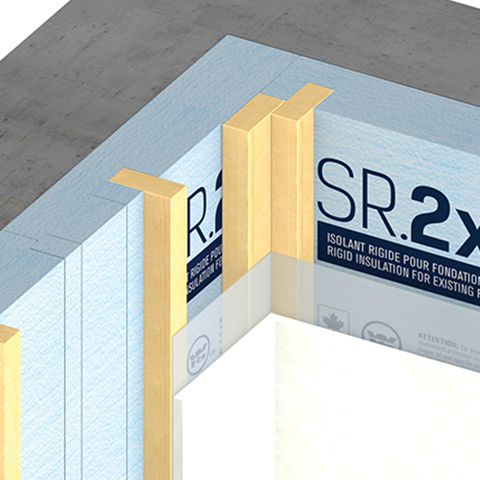
Outside Corner
Horizontally installed studs are used to finish the outside corner and provide solid backing.
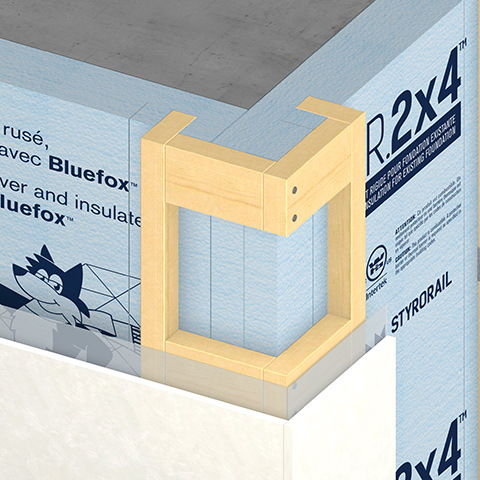
Inside Corner
The insertion of a stud in the inside corner facilitates the installation of the gypsum and vapour barrier.
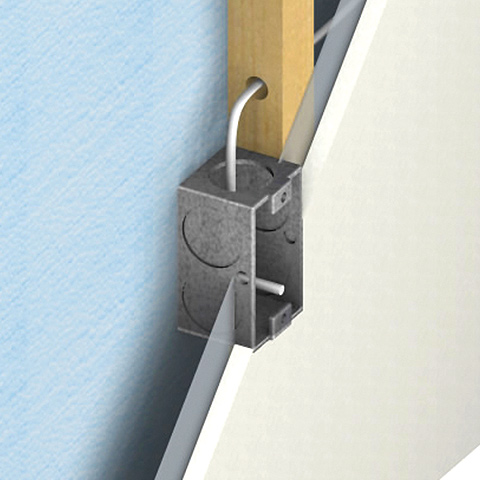
Simplified Installation
The 1-½’’ gap eases the installation of electrical boxes and wires.